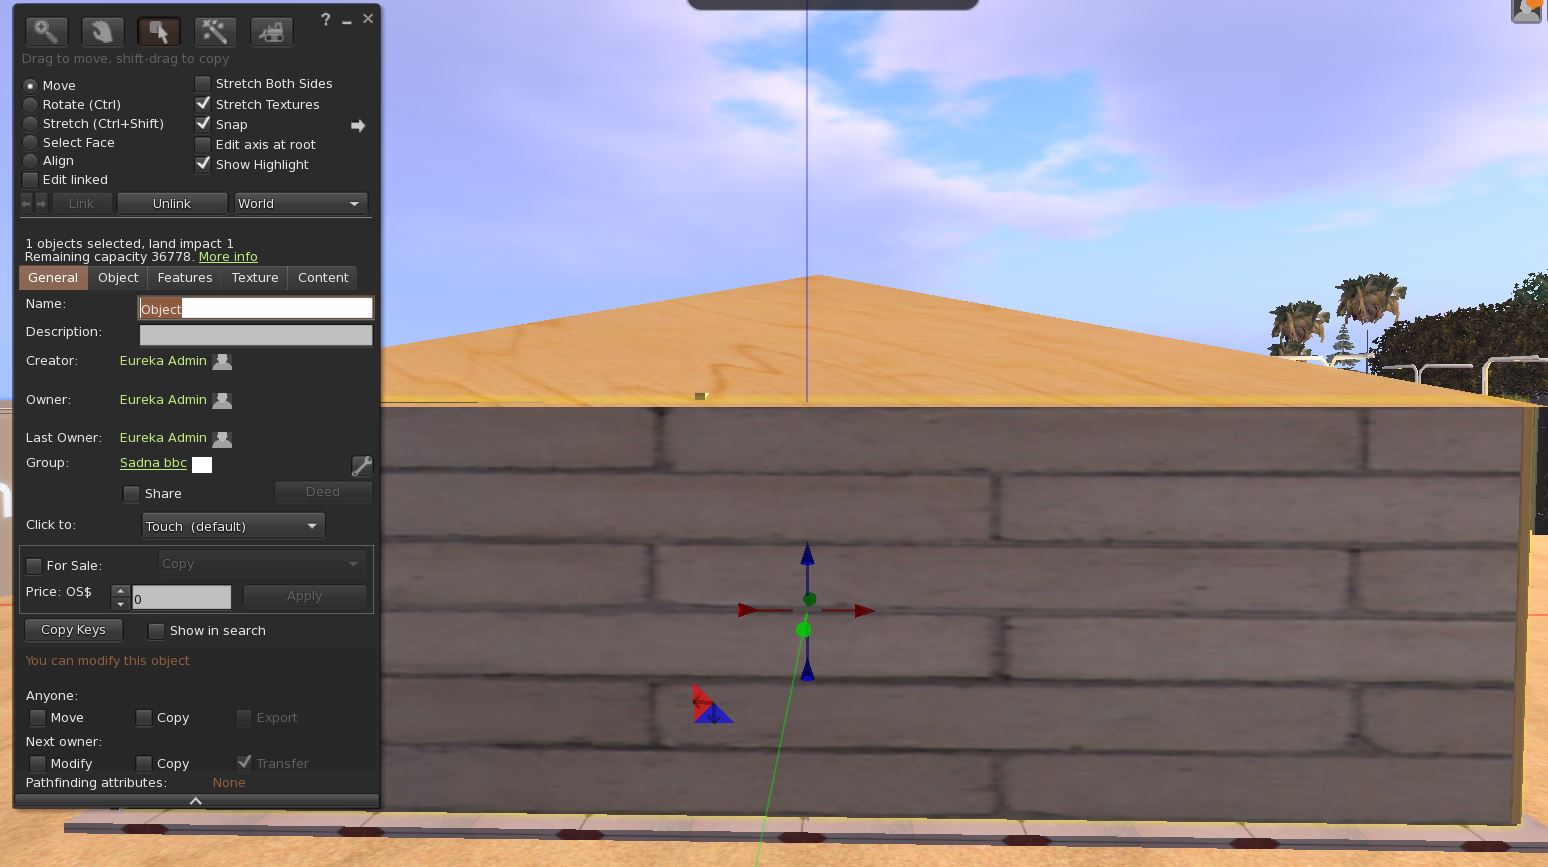
In this lesson we will start by preparing the place for the windows.
Open the EDIT menu by right-clicking on one of the walls.
Using the CTRL + SHIFT buttons we will make the wall smaller.
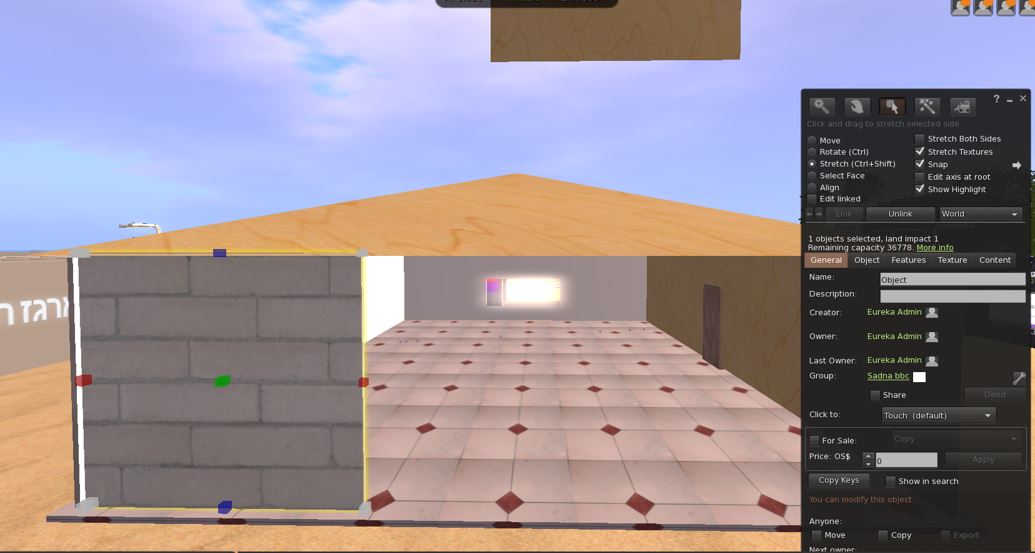
We will duplicate the same wall to the other side with a long press on the SHIFT button while moving it with the arrows.
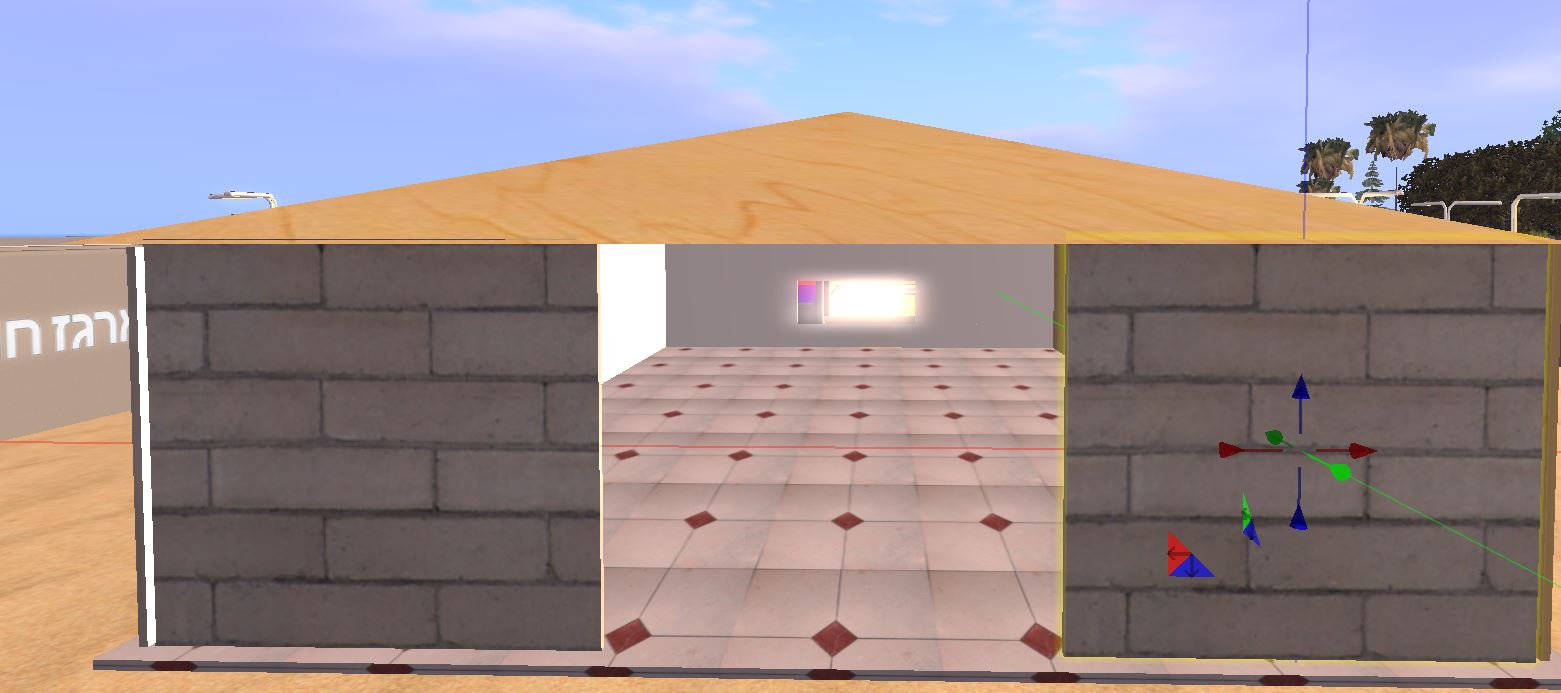
duplicate the wall again to the middle , and reduce the size of it in order to form the top of the lintel.
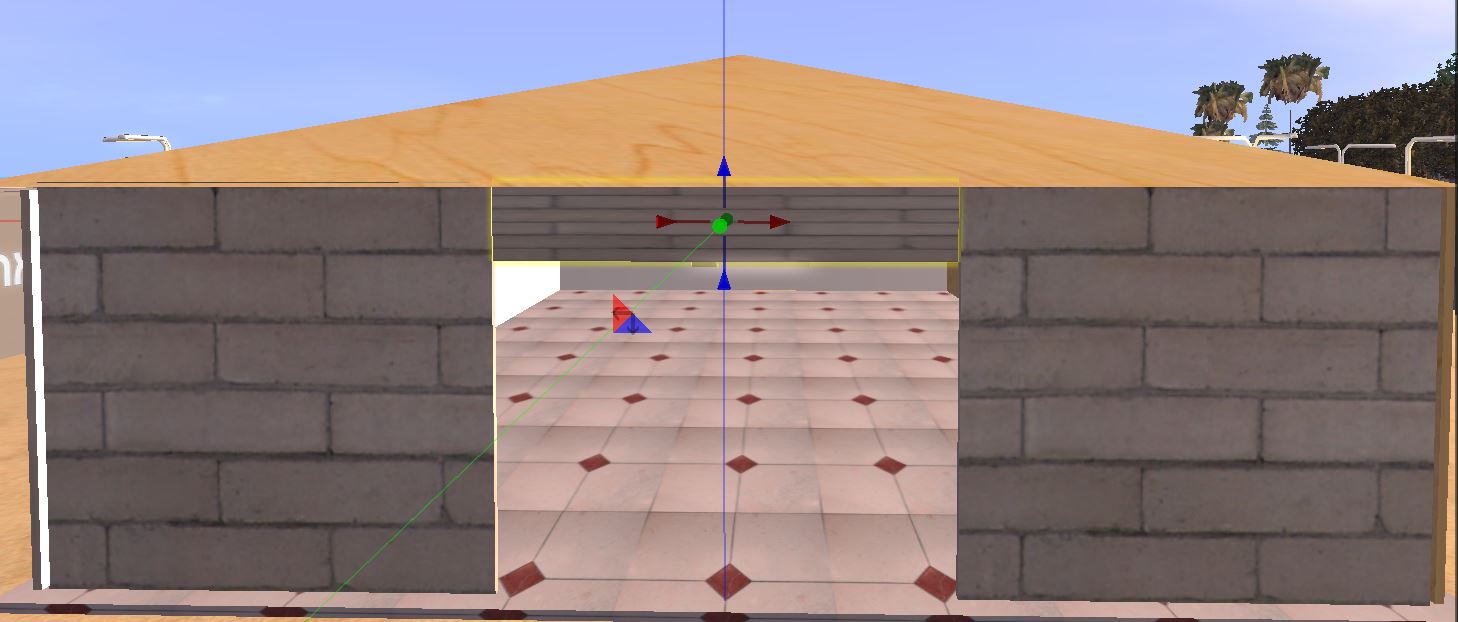
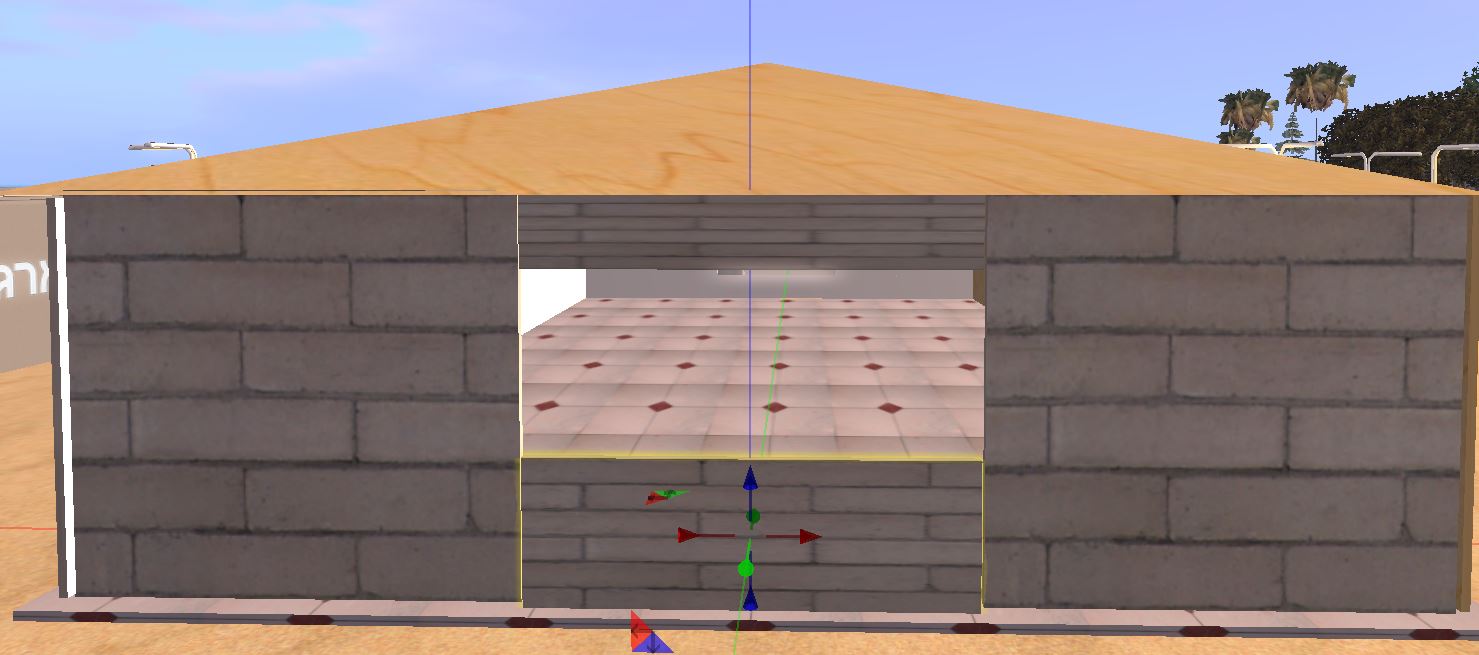
Duplicate the top of the lintel created in the past stage, drag it down to create the window frame.
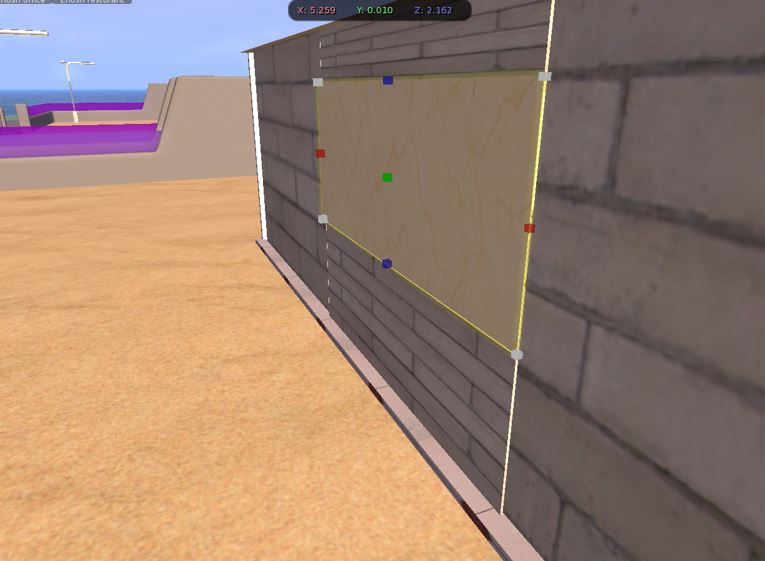
When the window frame is ready, go the CREATE menu by clicking on the magic wand icon, and create a new cube.
adjust the size of the cube to the frame.
Press CTRL+SHIFT buttons to resize it.
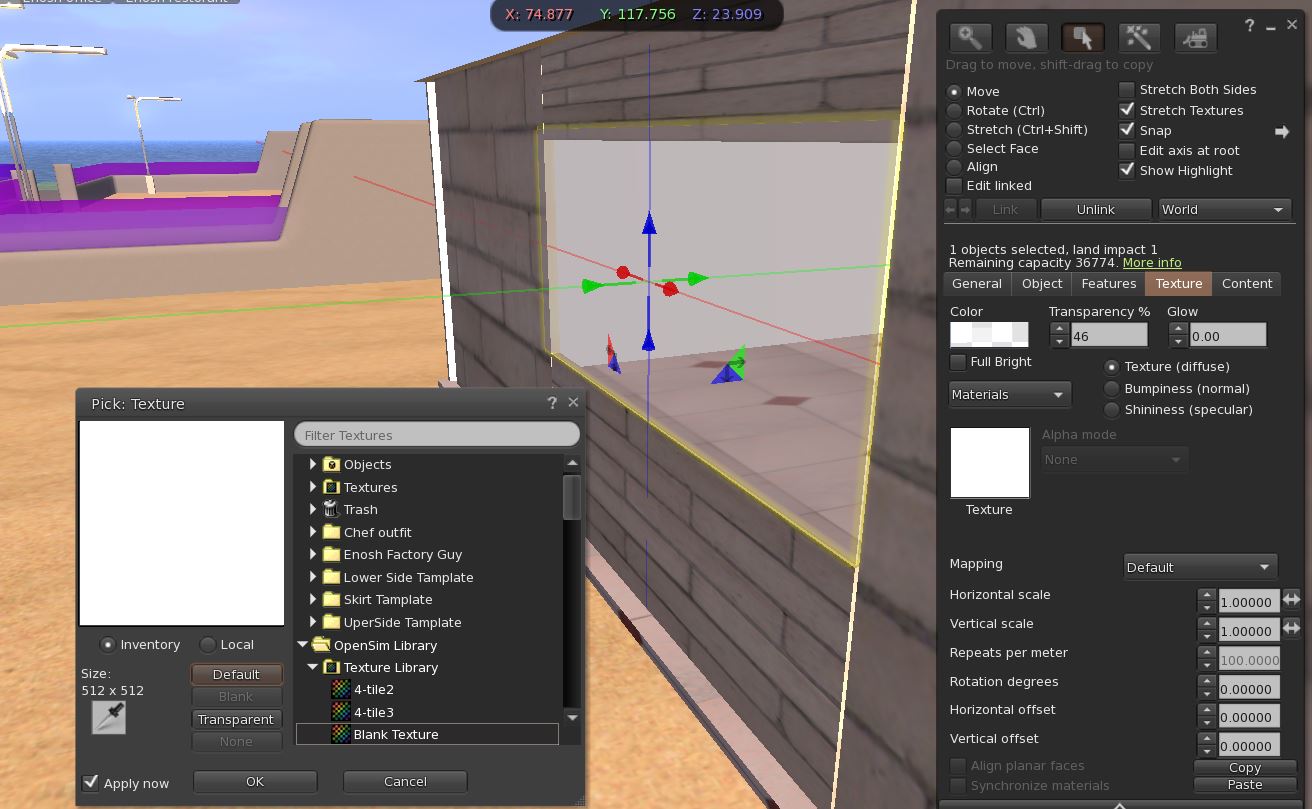
Now, change the texture and set the window transparency
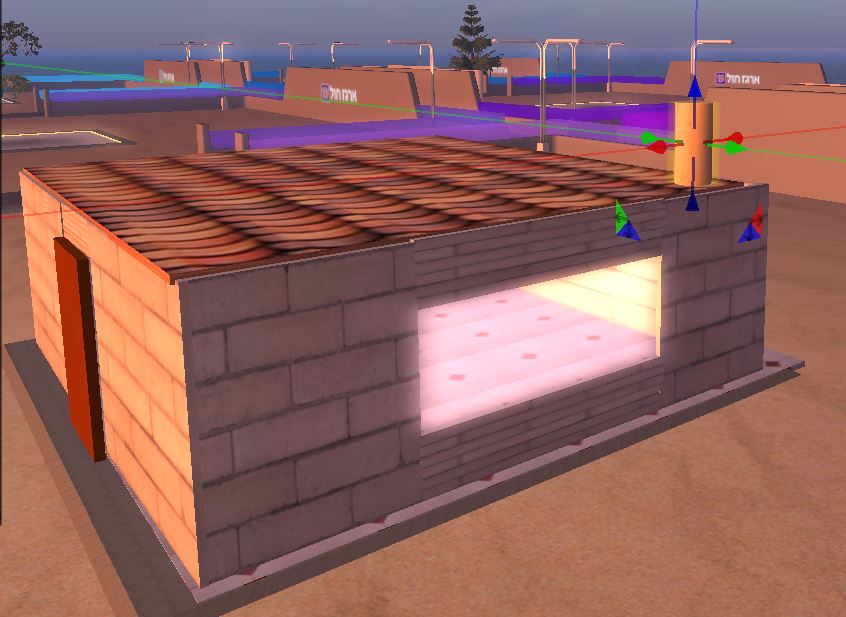
We will start building the chimney using a cylinder from the create menu.
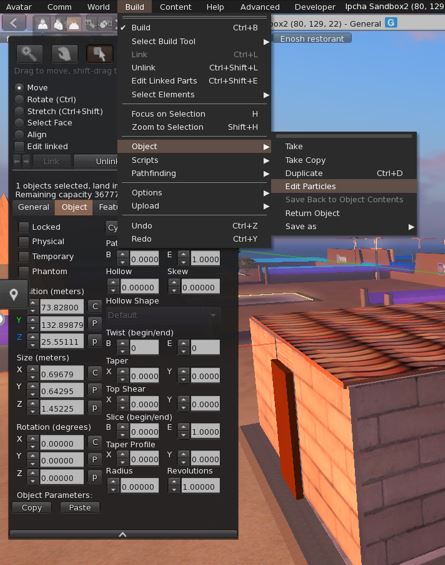
Then, open the BUILD menu on the upper side of the screen, then select the OBJECT option and immediately the EDIT PARTICLES option.
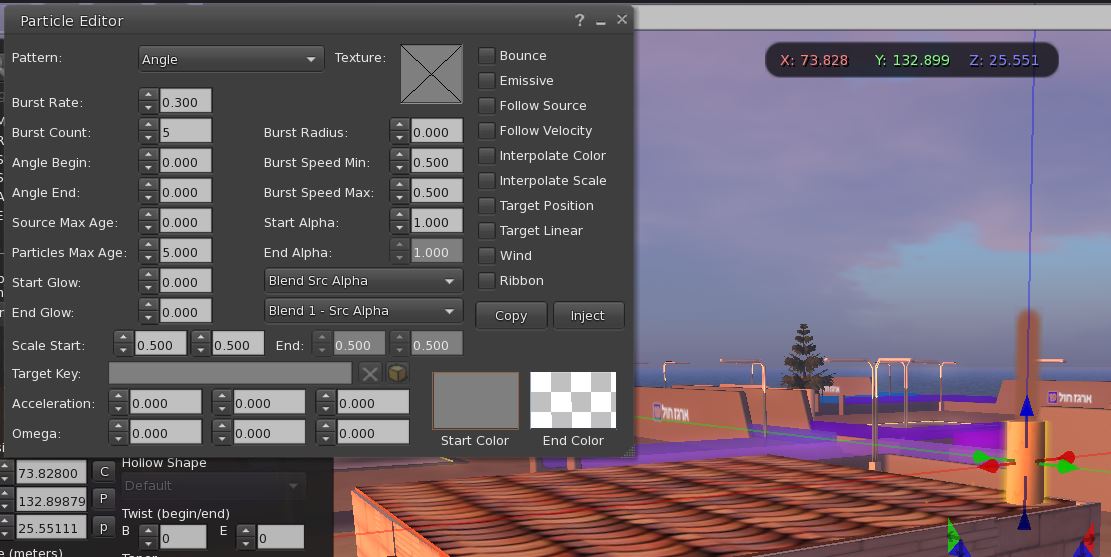
In the first category – PATTERN Define the type of smoke and select ANGLE.
You can change the color of the smoke in the color window.
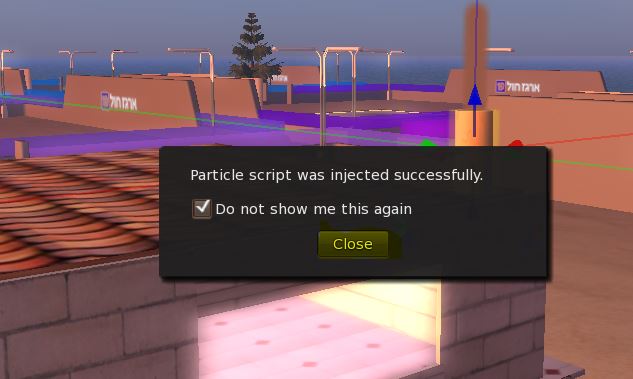
When done, press the INJECT button and then close the window.