In this lesson we will practice the basic creation tools, and we will also learn new tools to upgrade your work.
In order to create a table, we will start creating a cube on the ground.
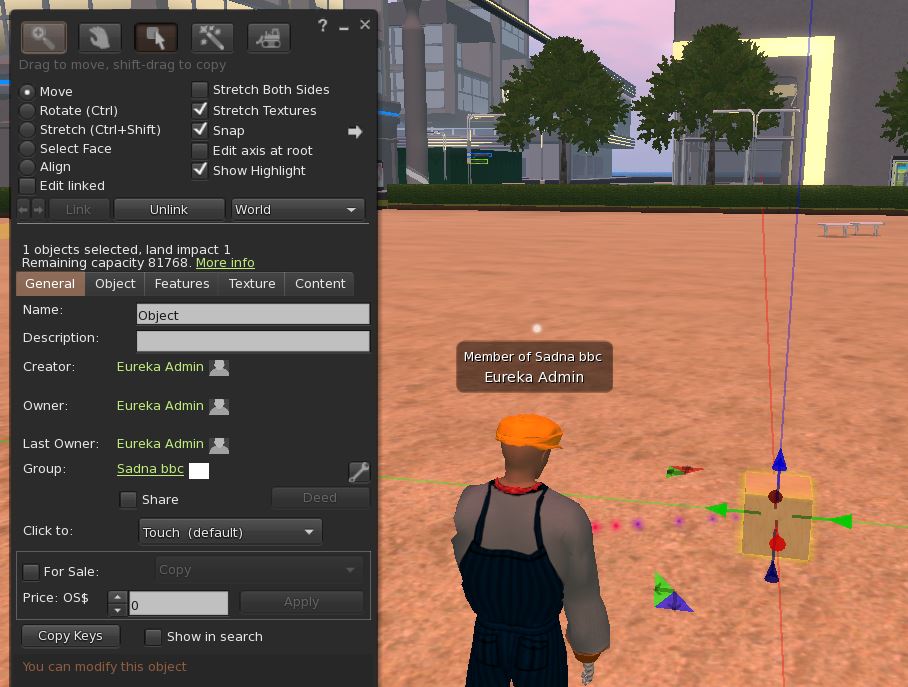
Right click on the ground and select the CREATE menu, then place a cube on the ground and close to the Avatar.
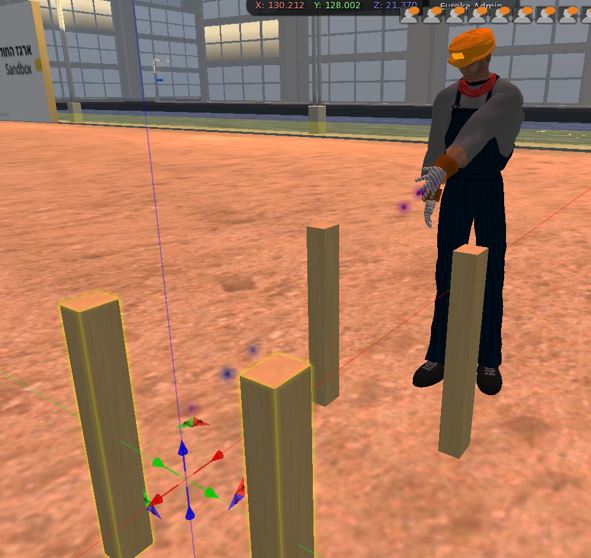
At this point we will create the first part of the table: the legs. It is recommended to create the cube next to the avatar in order to optimally control the size in relation to the avatar’s body (not to big nor too small).
With a long press on the CTRL + SHIFT keys and the mouse, make the cube bigger and adjust it to the shape of a narrow rectangle approximately at the avatar’s hip as shown in the picture.
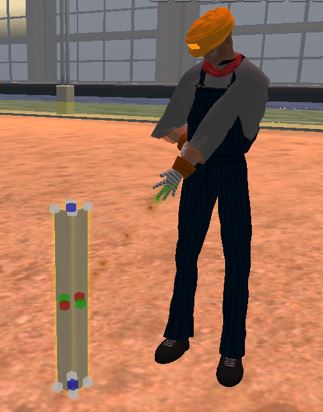
After creating the first table leg, we will duplicate it. press the SHIFT button, and with the help of the arrows that appear around the leg, move it to the side of the first leg.
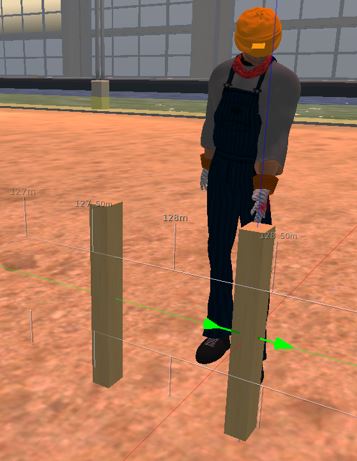
Now select both legs and duplicate them again, in order to work faster, and instead of creating each leg separately. This also allows us to create the parts accurately.
Still in EDIT mode, mark one of the legs, then, by pressing SHIFT, mark the other leg as well. A yellow line will appear around both legs so we know both legs are selected.
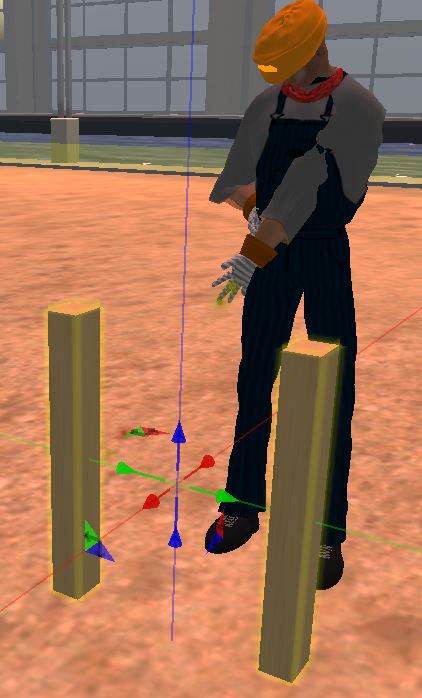
The next step will be to duplicate the two legs selected in the previous step. press the SHIFT button and with the help of the arrows move both legs in the opposite direction to the avatar, in order to create 4 identical legs in parallel.
Open the construction menu and click on the magic wand icon.
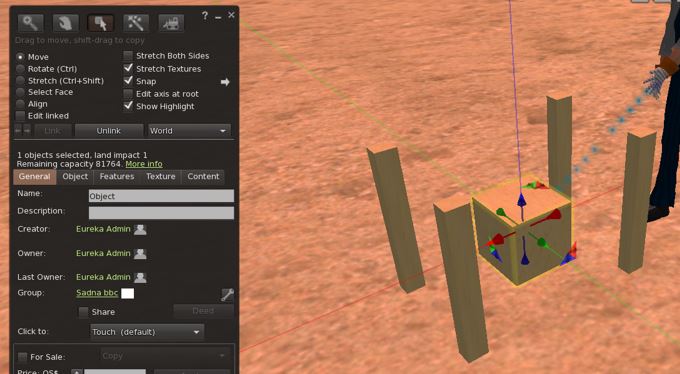
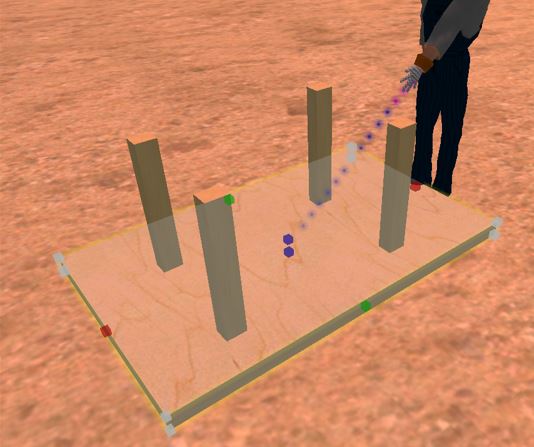
Now create another cube for the table top. It is recommended to build it in the center of the area where the legs were built.
Press the CTRL + SHIFT buttons and adjust the size of the table top using the dots around it in a proportional cube to complete the table.
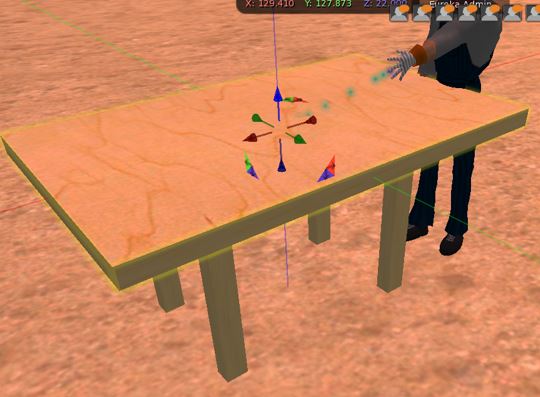
When finished, move it with the arrows, place it over the legs.
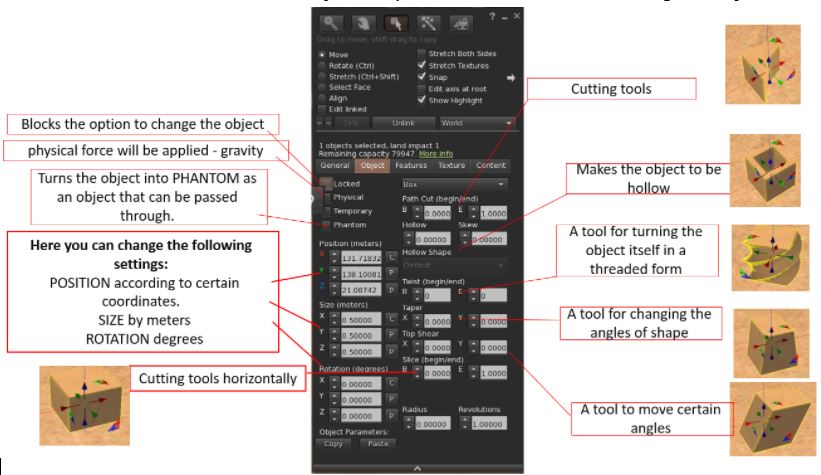
Manipulations and Design Functions
The legs of the table can be shaped in a variety of ways, for example screw shaped legs.
Next, you will be able to know the different design features.
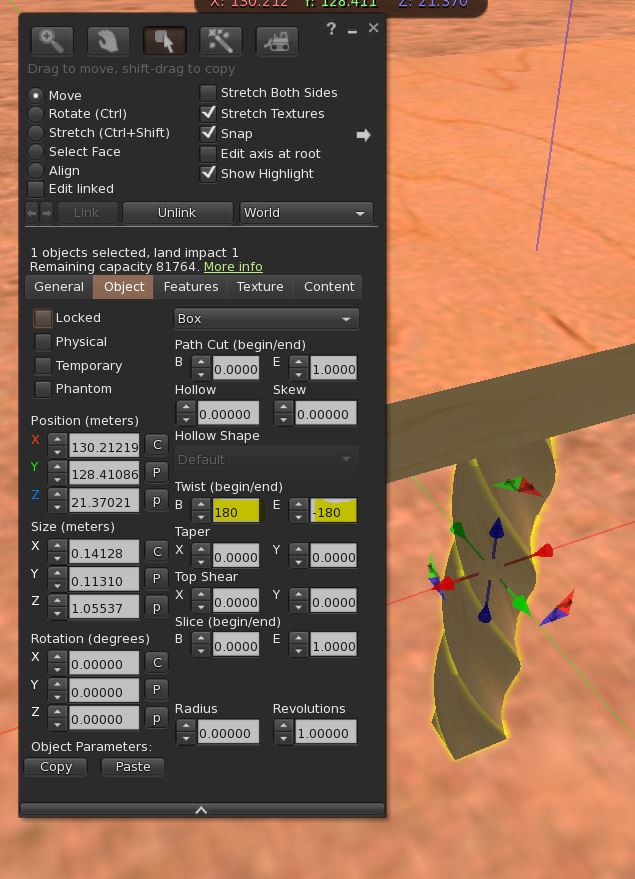
Design the table legs using the TWIST tool.
Open the edit menu. Right-click on one of the legs, and click the OBJECT tab. In the TWIST option, adjust the rotation of the leg as desired until you get the desired look.
Shape the rest of the legs.
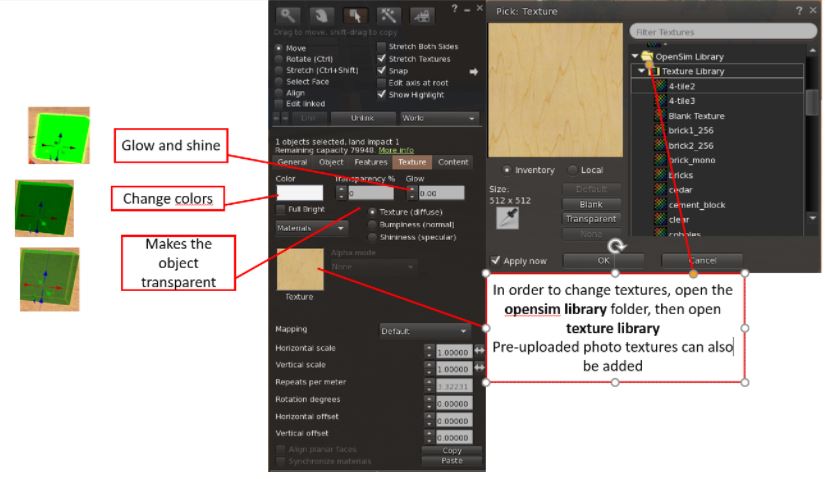
Adding texture to the table.
In addition to the colors and textures we have already learned in a basic construction class, there are other options such as shininess and transparency.
Click the TEXTURE tab and open the color window.
Select the legs
(you can select all the legs together. By pressing the SHIFT button and selecting all the legs).